I am not very adept at soldering, so in general I don’t do repairs of electronics at the board level. But the idea of having to pay Apple quite a bit of money to replace an ailing battery just rubbed me the wrong way. I had an iPhone 6 plus. The battery was not holding a charge very long. This particular phone was actually part of the giant “we’ll replace it for USD $29” scandal, so it wouldn’t have set me back that much, but since I was considering getting a new phone anyway, I decided to try to replace the battery on my own just to see if I could get comfortable doing such a thing.
The first “go to” place on do-it-yourself gadget repair is ifixit. They have all kinds of guides, and will sell kits as well. I basically followed their guide to replace the battery in my iPhone 6 plus, and old iPhone 4, and an iPad mini 2. Each of the guides are reasonably good, but here is what I would do differently, or what I now feel is common sense.
- You can probably get the replacement batteries on Amazon or Aliexpress. The quality of all these batteries is all questionable in my mind. I at least try and find ones with the PSE mark (which of course could also be fake). I look at comments and try and see if most are fake comments or real. Also, it seems these batteries have a warehouse shelf life. Some companies will advertise a “less than six months old” policy that may be worth it. (I had one iPhone 4 battery that was DOA.)
- Don’t do this when you are in a hurry. They have a reference time on some of the guides. Just assume you are going to need a couple of hours.
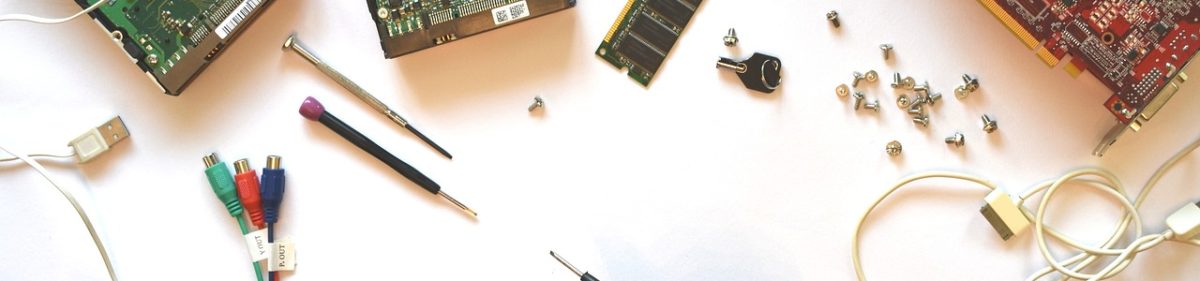
- Take the time to cover your work area with light-colored paper or a plain table cloth. You will almost always lose a screw or other little part, and usually you will want to find it.
- Print out the guide unless you have an extra tablet to view. Mobile phone screens are too hard to focus on when you are back and forth with your work.
- I like to print out a photo (your own or from ifixit) on A4 (or Letter-size) paper and then put double stick tape next to each screw in the photo. Then, when I take out a screw, I set it on the double stick take next to its own photo, and that helps me get the right parts back in later.
- You can make the heating pad that is shown on ifixit out of socks and rice. I found that men’s socks are too big as socks will stretch quite a bit as they are filled with rice. Also, sewing through (like a quilt) in a few places helps keep the rice a bit more evenly distributed. When you heat this in the microwave, a fair amount of moisture will come out. Use common sense when putting it on the device. I found that setting the device in front of my kerosene fan heater got things pretty warm, and then I put the socks/rice heating pad on that for the final touches.
- I would suggest you buy a new set of screws for the device before you start. Aliexpress has these for very little money–just get a set.
- Ditto with the “seal sets”. Aliexpress will have them. These are some sort of seal adhesive that is set in the same shape as the screen. When you remove the screen, you essentially heat this stuff up so that the screen will come off. The seal is typically somewhat damaged in the process. The phone will still go back together just fine, but my guess is the water-resistance is significantly decreased.
If you assign a value to your time, then I would say it is NOT worth it to replace iDevice batteries yourself. However, if you look at the time you spend fixing it as recreation, then you can save a significant amount of money doing it yourself.