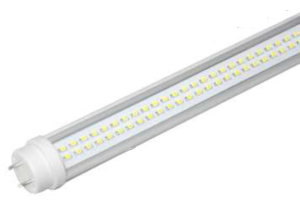
As my incandescent light bulbs burn out, I have been replacing them all with LED bulbs and the house has pretty much been converted. (Some I have been a bit more proactive.) The monetary benefits of moving from incandescent to LED is pretty clear. However, fluorescent lights are already pretty energy-efficient, so I haven’t really been motivated to change them. However, this changed with the long fluorescent tube in the kitchen started flaking out. At first I put in a new tube. Unfortunately there was no change-still flaky. That meant the quick starter or the ballast must be on the blink, so my choices were between getting parts for the light fixture, or replacing the entire fixture. Parts replacement in Japan can be a real pain, as there are not many third-party manufacturers and trying to figure out something compatible can be tricky. A new fixture is quicker at about $100, but from my experience parts are going to come close to that anyway. So, I started looking at LED lighting, and found that those lamps don’t like starters and ballasts, but like to be wired direct. Hmmm. I ordered just an LED tube replacement at $28, took the ballast and quick starter out of the circuit and wired it direct, and viola, everything working fine–pure satisfaction. Sure it took me half a day to come to this conclusion and then do the wiring. It’s a guy thing.
There are actually two types of Flourescent fixtures. I have created a schematic of sorts to illustrate the before and after wiring of each.
Disclaimer: This is offered for information-purposes only from a hobbyist, not an accredited professional. There is always the possibility that something I have stated is incorrect, so if you act on this, do so at your own risk.
Ballast + Starter arrangement:
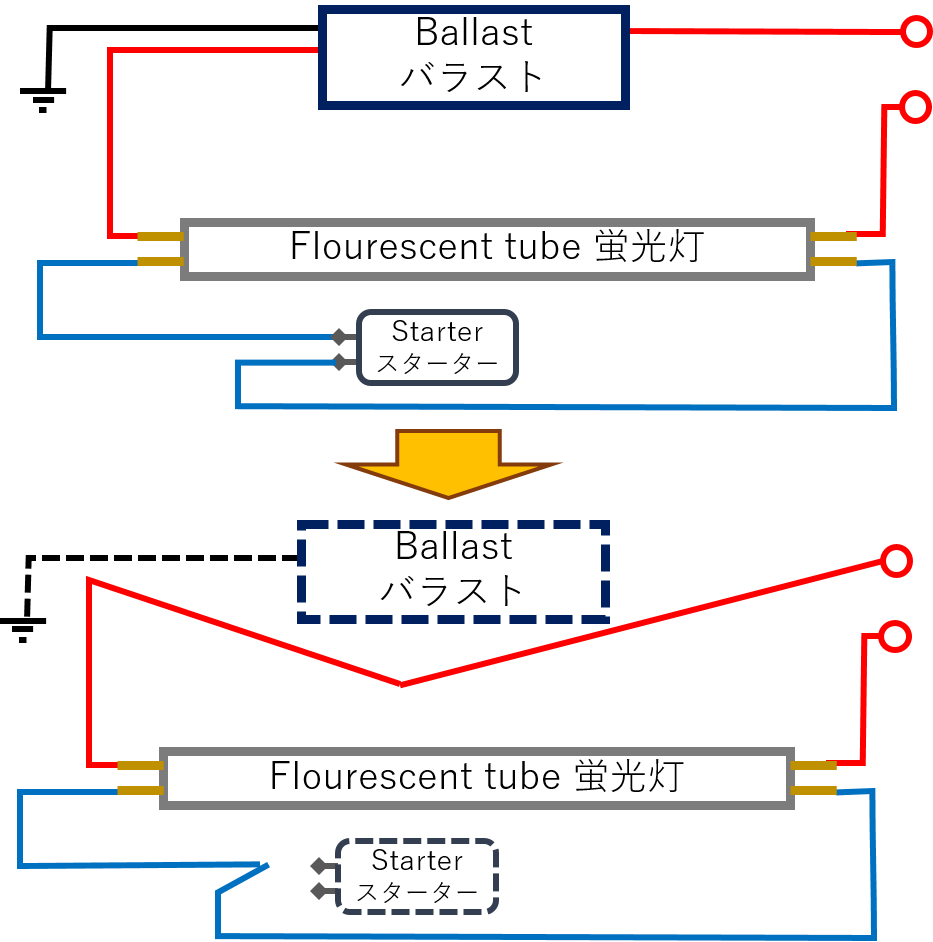
Ballast only arrangement:
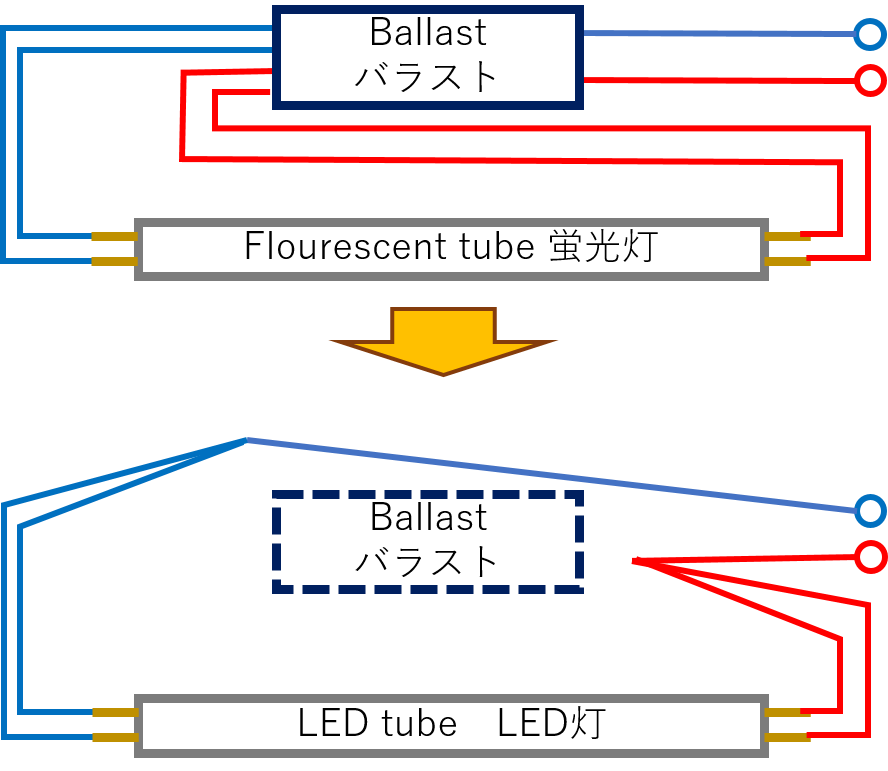
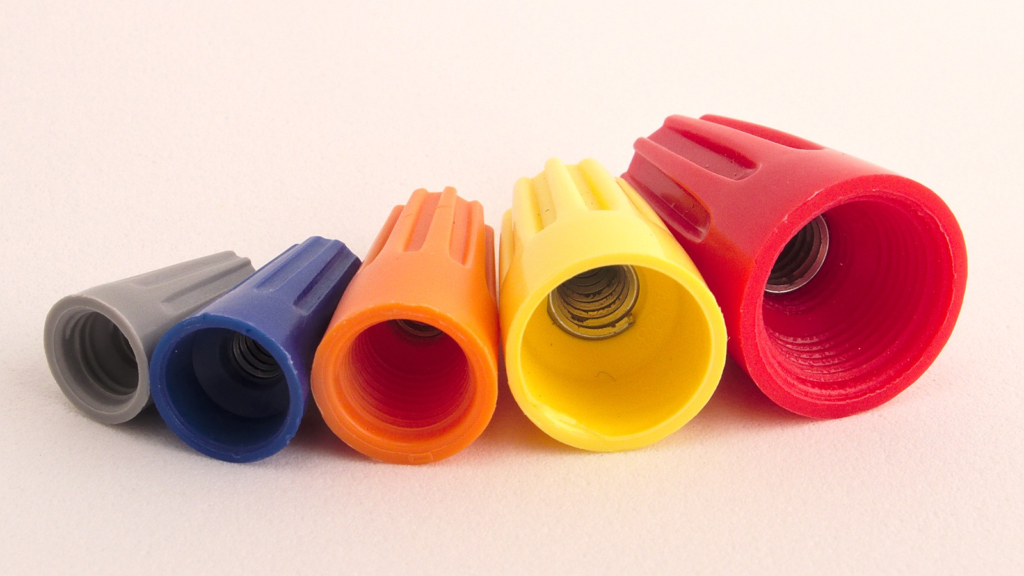
In either case, it is simply a matter of cutting the appropriate wires, stripping off the insulation on the ends, and then putting the appropriate wires together again. I used twist-on connectors for connecting the wires together again.